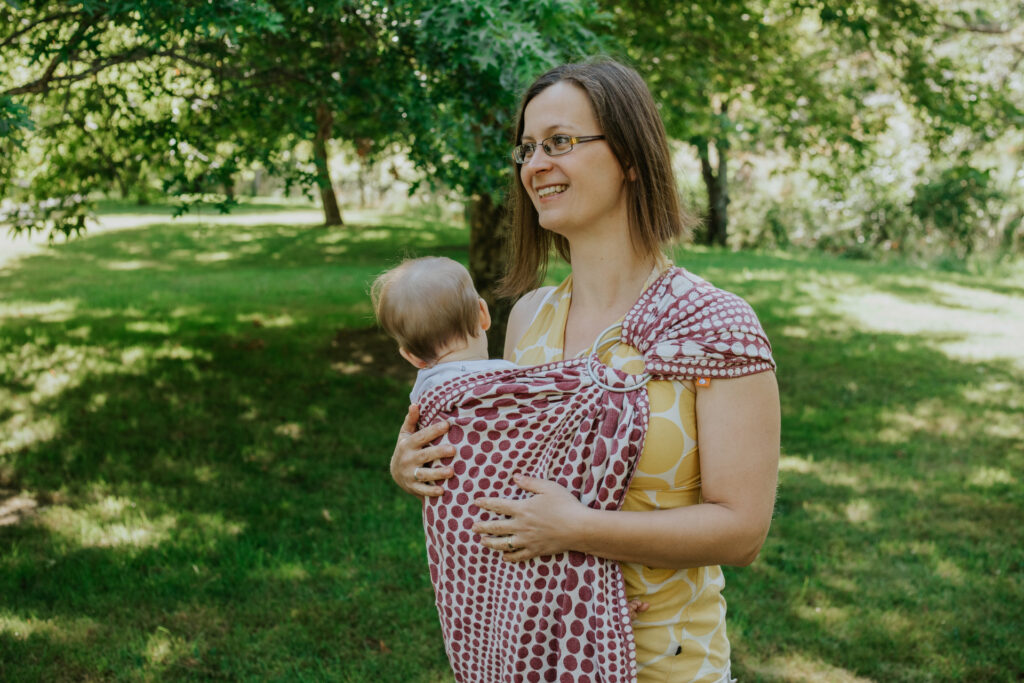
Ring slings are my favourite type of carrier! They are great from newborn up until you don’t want to carry your baby on your hip anymore. It can be a bit tricky in the beginning to learn how to use a ring sling, but once you know what you are doing it is one of the quickest carriers to put on!
I certainly didn’t fall head over heal in love with it right from the start. First, I started off using my ring sling like a hammock, instead of my baby being upright (this was early days for me, and I did not know what I was doing!). A few months later I went to my local Babywearing group and they showed me how to wear my baby safely in the ring sling. But for some reason it wasn’t comfortable, and I quickly gave up. Another couple of months later, I tried the ring sling again and this time my daughter was big enough to be carried on my hip. This was way more comfortable for me and from then on, I loved using the ring sling for short carries around the house, while cooking dinner or while going shopping.
1. Start your rings high up
One of the most common issues with ring slings is that the rings slip too far down while tightening the fabric. To avoid this, start by placing the rings right up on your shoulder. They will naturally move down a little, but if you tighten correctly it won’t be too much.
2. Position your baby
Instead of rushing it to get your baby into the ring sling, it is well worth to take your time and position your baby correctly. Keep the fabric of the sling as one bunch and sit your baby on this fabric “rope” with her bottom hanging over and knees higher. Depending on age, position your baby either on your tummy or on your hip. Make sure your baby is high enough to have her head on the bony part of your chest. Only once you are happy that your baby is in a great position, gently pull the top rail (edge of the fabric that is on top) of the fabric over your baby’s back up to her earlobes.
3. Tighten your ring sling correctly
When tightening the fabric of your ring sling, you start with the top rail (edge of the fabric that is at your baby’s neck). Bring the fabric from under your arm (the one without the rings) around, across your baby’s back and all the way to the rings. Now lift your baby up a little bit under her bottom with one hand and with your other hand pull the fabric (only top rail) horizontally across your baby’s back. Once your top rail is tight enough, tighten the bottom rail (edge of the fabric that is under your baby’s bottom) the same way, by bringing any slack from under your arm around to the rings. Lastly, tighten any loose fabric in between the top and bottom rail by gently pulling on single strands of fabric.
4. Create a head support
Especially for newborns and young babies without much head control it is nice to have a little bit of a head support. With a ring sling you have two different options: 1. Take all of the fabric that hangs down from the slings, guide it along the top rail and loosely tuck it in on the other side of your baby’s head. 2. Take only the top rail of the fabric that hangs down from the slings and place this parallel to the top rail at your baby’s neck. Now gently pull the fabric a little bit higher and fold it over once.
5. Keep practising
As I’ve mentioned above, ring slings take a little practise to get the hang off. So, don’t give up after the first time using it. Keep practising! The more confident you are, the happier your baby will be.
Would you like to share?
Have you tried using a ring sling yet? Would you give it a go after reading my tips?
Please share with your friends: